REVIEW · HONG KONG SAR
Hong Kong Photography Masterclass – Private Photography Lesson
Book on Viator →Operated by Aperture Tours · Bookable on Viator
Neon streets meet real camera skills. This private Hong Kong Photography Masterclass pairs a professional photographer with guided photo stops, from Tsim Sha Tsui Harbor views to Victoria Peak nighttime shooting. I like that it mixes classic city scenes with hands-on lessons like long exposures and light trails, so you’re not just walking—you’re learning how to control your shots.
One thing to plan for: you’ll want a tripod (it’s not included) if you want to get the best long-exposure results after dark.
In This Review
- Key things to know before you aim at the skyline
- Why this Hong Kong photography lesson works at night
- Starting point at the Clock Tower: get your eyes and settings ready
- Tsim Sha Tsui Promenade: harbor views and long-exposure practice
- Nathan Road: neon streets for timing, motion, and framing
- Temple Street Night Market: shoot stories, not just souvenirs
- Graham Street Market and the Mong Kok feel on camera
- Hong Kong Island transfer: set up for skyline scale
- Skyline at the Peak: long exposure, light painting, and real results
- Price and value: what $170 buys you (and what it doesn’t)
- Who should book this Hong Kong night photography masterclass
- Should you book it?
- FAQ
- How long is the Hong Kong Photography Masterclass?
- Where does the tour start?
- Does this tour include a tripod?
- Is the tour private?
- What nighttime photography techniques will I learn?
- What camera do I need?
- Which stops are part of the experience?
- What’s included in the price?
- Can I cancel for a full refund?
Key things to know before you aim at the skyline
- Night-shooting techniques that match the city: long exposure, light trails, light painting, and high ISO practice
- A true private setup: only your group goes, so the photographer can adapt to your pace and camera level
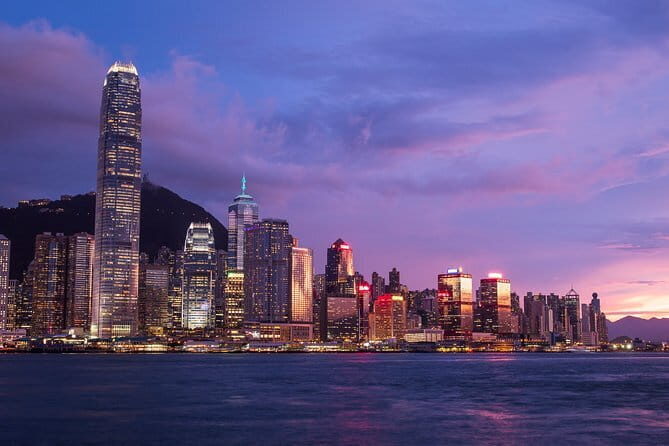
- Multiple photo zones in one session: harbor promenades, neon streets, and night markets, then Hong Kong Island viewpoints
- You’ll get guidance on composition and details: trams, markets, textures, and small scene-building elements
- Bring (or rent) tripod support: it’s a major help for nighttime stability
Why this Hong Kong photography lesson works at night
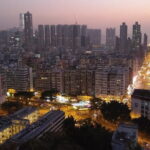
Hong Kong is basically built for photography after sunset. The light sources are everywhere—neon signs, street lamps, headlights, and that constant shimmer off the harbor—so your camera has plenty to “react” to. The smart part is that this lesson doesn’t treat night as a random photo walk. It teaches you how to make night behave, using techniques you can apply immediately.
I especially like the approach of combining city landmarks with smaller, close-up subjects like market scenes and details. That matters because night shots can become one-note if you only aim for big skylines. Here you’ll practice both: wide views for atmosphere and tighter frames for storytelling.
The timing and flow also matter. You start in the Kowloon area, move through signature streets and night markets, then shift to Hong Kong Island and the Peak area for big skyline views. That gives you a natural progression from learning and adjusting to finally applying it to the most dramatic backgrounds.
You can also read our reviews of more private tours in Hong Kong SAR

Starting point at the Clock Tower: get your eyes and settings ready
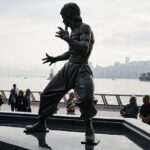
You meet at the Former Kowloon-Canton Railway Clock Tower (10 Salisbury Rd, Tsim Sha Tsui). It’s a strong starting spot because it puts you in the Tsim Sha Tsui zone right away, where the harbor lights and tall buildings set the tone fast.
Before you start shooting seriously, you’ll be oriented—where to stand, how to frame, and how to think about your next shot. For night photography, this early setup is valuable. The biggest mistake people make is changing settings repeatedly without a plan. Even if you’re not an expert, you’ll benefit from thinking in “types” of shots: motion shots, skyline shots, and detail shots.
Also, this is a private experience with a professional photographer guide and a local guide. That usually means you’re not guessing your way through unfamiliar streets or timing your photos purely by luck.
Tsim Sha Tsui Promenade: harbor views and long-exposure practice
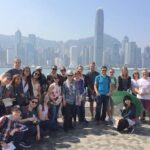
Stop 2 is the Tsim Sha Tsui Promenade, which is one of those places where the city practically hands you a composition. This is where wide harbor angles become the default. The skyline gives you strong structure, and the lights are bright enough that long exposure can show trails and glow instead of turning into muddy blur.
This is also a great moment to practice the fundamentals the lesson calls out:
- Long exposure for smoother light trails and steadier city glow
- High ISO shooting to keep moving elements readable when you’re not fully stabilizing
- Light trails when traffic and signals create streaks rather than single points
If you rent or bring a tripod, this is a prime time to use it. Even if you plan to handhold some shots for variety, tripod work will help you learn what your camera does when it’s stable.
One caution: night exposure can tempt you into extreme settings. The point of a masterclass is to learn the “why” behind the setting choices, so ask your photographer guide for a quick reason-based adjustment rather than copying numbers blindly.
Nathan Road: neon streets for timing, motion, and framing
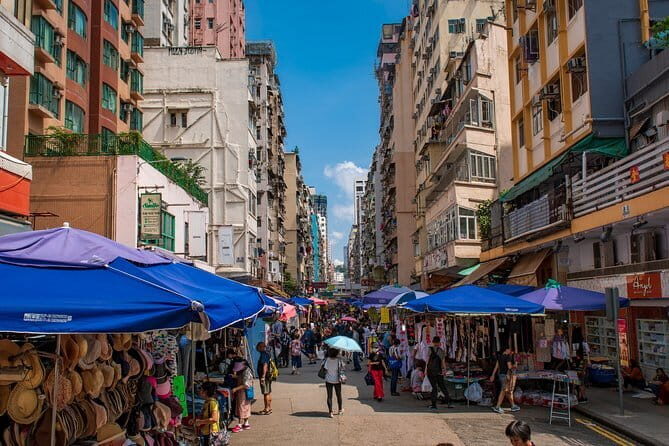
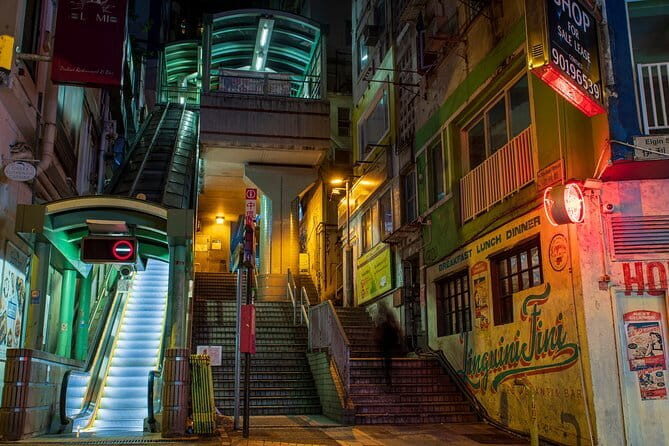
Next you head to Nathan Road. This is where the photography shifts from “city as a view” to “city as action.” You’ll be surrounded by light sources, signage, and movement, and this is ideal for learning how your shutter speed affects how people and vehicles render in your frame.
Think of Nathan Road as your training ground for:
- Keeping your subject sharp while lights smear in the background
- Using motion intentionally, not accidentally
- Finding foreground elements (signs, details, street textures) so your photos don’t look like flat postcards
You’ll also practice a more creative way of seeing. The lesson emphasizes details and visual texture—trams, markets, and street-level scenes. That’s important because Hong Kong’s night look isn’t only neon skies. It’s also the way lights bounce off surfaces and how layers of streets create depth.
If your camera has options like manual mode or shutter priority, this is the moment where those controls start paying off.
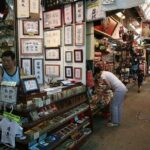
Temple Street Night Market: shoot stories, not just souvenirs
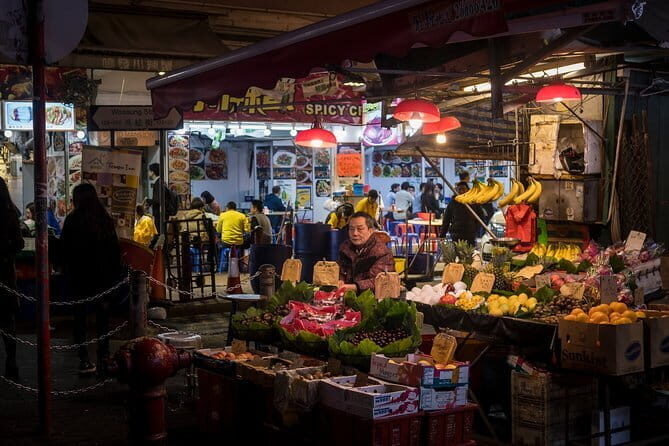
Stop 4 is Temple Street Night Market. Night markets can be chaotic in the wrong way if you treat them like a single photo spot. The better approach—what the lesson is built around—is to shoot with intention: details first, then wider context.
Temple Street gives you a mix of:
- Bright sign and stall lighting
- People moving through your frame
- Depth of layers (stalls, street, faces, reflections)
Here’s how you’ll get value from the masterclass mindset: instead of photographing everything, you’ll learn to choose. Your photographer guide can help you identify which scene elements will read well on camera, even when the lighting is uneven.
This stop is also ideal for practicing high ISO when you want to keep people and faces recognizable without turning the scene into long-exposure mush. If you’re using a tripod, you can still use it for steadier shots of stalls, but you’ll likely want to adapt your approach as the market activity changes.
You can also read our reviews of more photography tours in Hong Kong SAR

Graham Street Market and the Mong Kok feel on camera
Stop 6 is Graham Street Market, which gives you another angle on Hong Kong’s market energy. Markets are perfect for learning because they force you to deal with mixed lighting—some lights are strong, some are dim, and shadows jump around.
I like this stop for its potential to improve your “detail eye.” You’ll be looking at signs, textures, and small patterns. That translates directly to better photos anywhere, not just Hong Kong.
Also, shooting in a market setting trains you for real-world night photography: you often won’t have perfect conditions. A pro guide helps you make smart choices fast—like deciding when to prioritize sharp faces versus when to lean into atmosphere.
Hong Kong Island transfer: set up for skyline scale
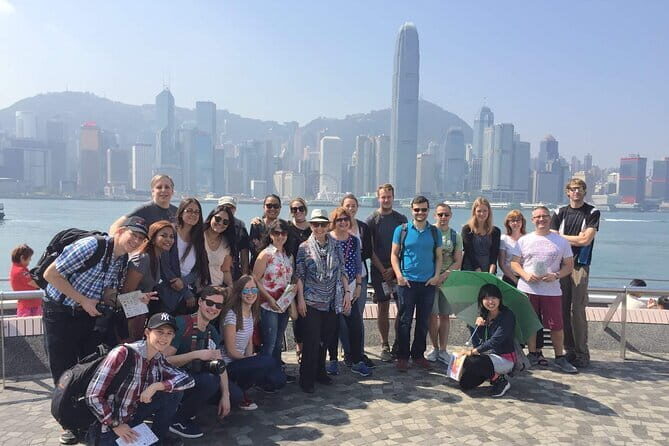
Stop 8 brings you to the Peak area approach and then Victoria Peak (The Peak) at stop 9. Before you get there, you’ll be walking through Hong Kong Island territory (stop 5 is Hong Kong Island). This part of the route matters because your photo style changes when you go from street-level to viewpoint-level.
On the island, you start working with larger framing problems:
- How much sky to include
- How to keep buildings crisp while lights glow
- How to control exposure so the skyline doesn’t blow out
This is where your earlier practice becomes useful. If you practiced long exposure and light trails on the harbor and neon streets, you’ll have a better sense of what settings to try when the background is huge and bright.
Skyline at the Peak: long exposure, light painting, and real results
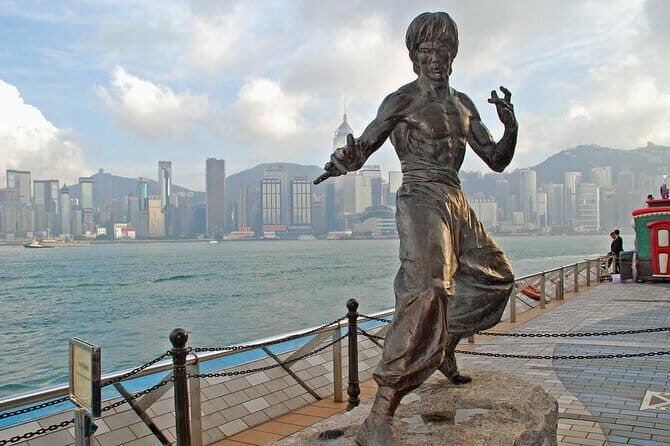
Stop 7 is Hong Kong Skyline, then you climb toward Victoria Peak for the final viewpoint. This is the part of the session where your camera work can look most dramatic.
You’ll be using the lesson’s nighttime tools:
- Long exposure for skyline glow and stability
- Light painting (where you can add controlled light to enhance a scene)
- Light trails for motion energy across the city
- High ISO for situations where you don’t have full tripod time or want a different look
At the Peak, the skyline becomes your subject, but your job is to keep your frame strong. You’ll likely be dealing with bright areas that can overexpose. This is a great place to ask for guidance on balancing highlights against overall brightness.
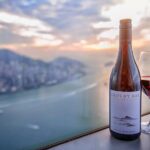
Bring your patience here. Peak viewpoints often require you to wait for the light and movement patterns to line up—cars passing, boats and harbor lights shifting, and signs changing intensity as the city runs on its own schedule.
Price and value: what $170 buys you (and what it doesn’t)
At $170 per person for about 3 hours, this can be good value if you actually want instruction, not just a guided walk. You’re paying for two things that are hard to replicate on your own: a professional photographer’s guidance plus a local guide who helps you move through the city in a way that supports photography.
What’s not included: your camera and tripod (though a tripod can be rented). That’s a key value point. If you show up without tripod support and you want long exposures, you’ll either lose time adapting or your results will be less dramatic than what the lesson is built to teach.
Also, the experience uses a mobile ticket, and there are group discounts available—useful if you can go with friends and split costs. The private format means you’re not stuck following a generic pace. The photographer can guide you based on your camera and your comfort level.
Who should book this Hong Kong night photography masterclass
This is a great fit if you:
- Want practical night skills you can use on your next trip
- Like both wide skyline shots and close, detail-rich street scenes
- Prefer a guided experience where the professional can correct your approach
It’s also a strong choice if you’re traveling solo but don’t want to be left figuring out settings alone. Since it’s private and only your group participates, you get more direct attention than in a large group workshop.
If you’re totally new and still learning camera basics, you’ll probably appreciate the structure of the stops and the focus on nighttime techniques. If you’re more advanced, you can still benefit from the “assignment-style” shooting focus—long exposure, light trails, and light painting are concrete challenges.
Should you book it?
Yes—if your goal is better Hong Kong night photos and you want hands-on help. The mix of Tsim Sha Tsui promenade views, neon street practice on Nathan Road, night market shooting, then Peak skyline sessions is a smart, results-focused route.
I’d book especially confidently if you can bring or rent a tripod, since long-exposure learning is central to the experience. If you skip tripod support, you may still get good images, but you’ll be limiting the full range of what the masterclass is designed to teach.
If you’re choosing between doing it yourself and paying for instruction, this is one of those cases where the cost is really paying for guidance—how to set up, when to change settings, and how to translate Hong Kong’s lights into intentional photos.
FAQ
How long is the Hong Kong Photography Masterclass?
It runs for about 3 hours.
Where does the tour start?
The meeting point is the Former Kowloon-Canton Railway Clock Tower, 10 Salisbury Rd, Tsim Sha Tsui, Hong Kong.
Does this tour include a tripod?
No. A tripod is not included, but it can be rented.
Is the tour private?
Yes. It’s a private tour/activity, and only your group participates.
What nighttime photography techniques will I learn?
The masterclass focuses on long exposure, light trails, light painting, and high ISO shooting.
What camera do I need?
You need your own camera. A camera is not included.
Which stops are part of the experience?
It includes stops such as Tsim Sha Tsui Promenade, Nathan Road, Temple Street Night Market, Hong Kong Island, Graham Street Market, Hong Kong Skyline, the Peak, and Victoria Peak.
What’s included in the price?
You get a local guide and a professional photographer guide.
Can I cancel for a full refund?
Yes. You can cancel up to 24 hours in advance for a full refund.